HOW TO MOUNT RUBBERS
The right material choice
In order to be successful at table tennis, it is important that one's own strokes are planned and controlled. More important than winning at all costs is the enjoyment of the game and this increases with increasing ball control and shots that are intended. When developing your own playing style and using different playing strategies, the right material can contribute significantly to success. The right material supports your natural playing style and helps you to bring your table tennis to the table in the best possible way. The principle applies in table tennis: „Unique players need unique rackets.“


Ready-made rackets or individual rackets
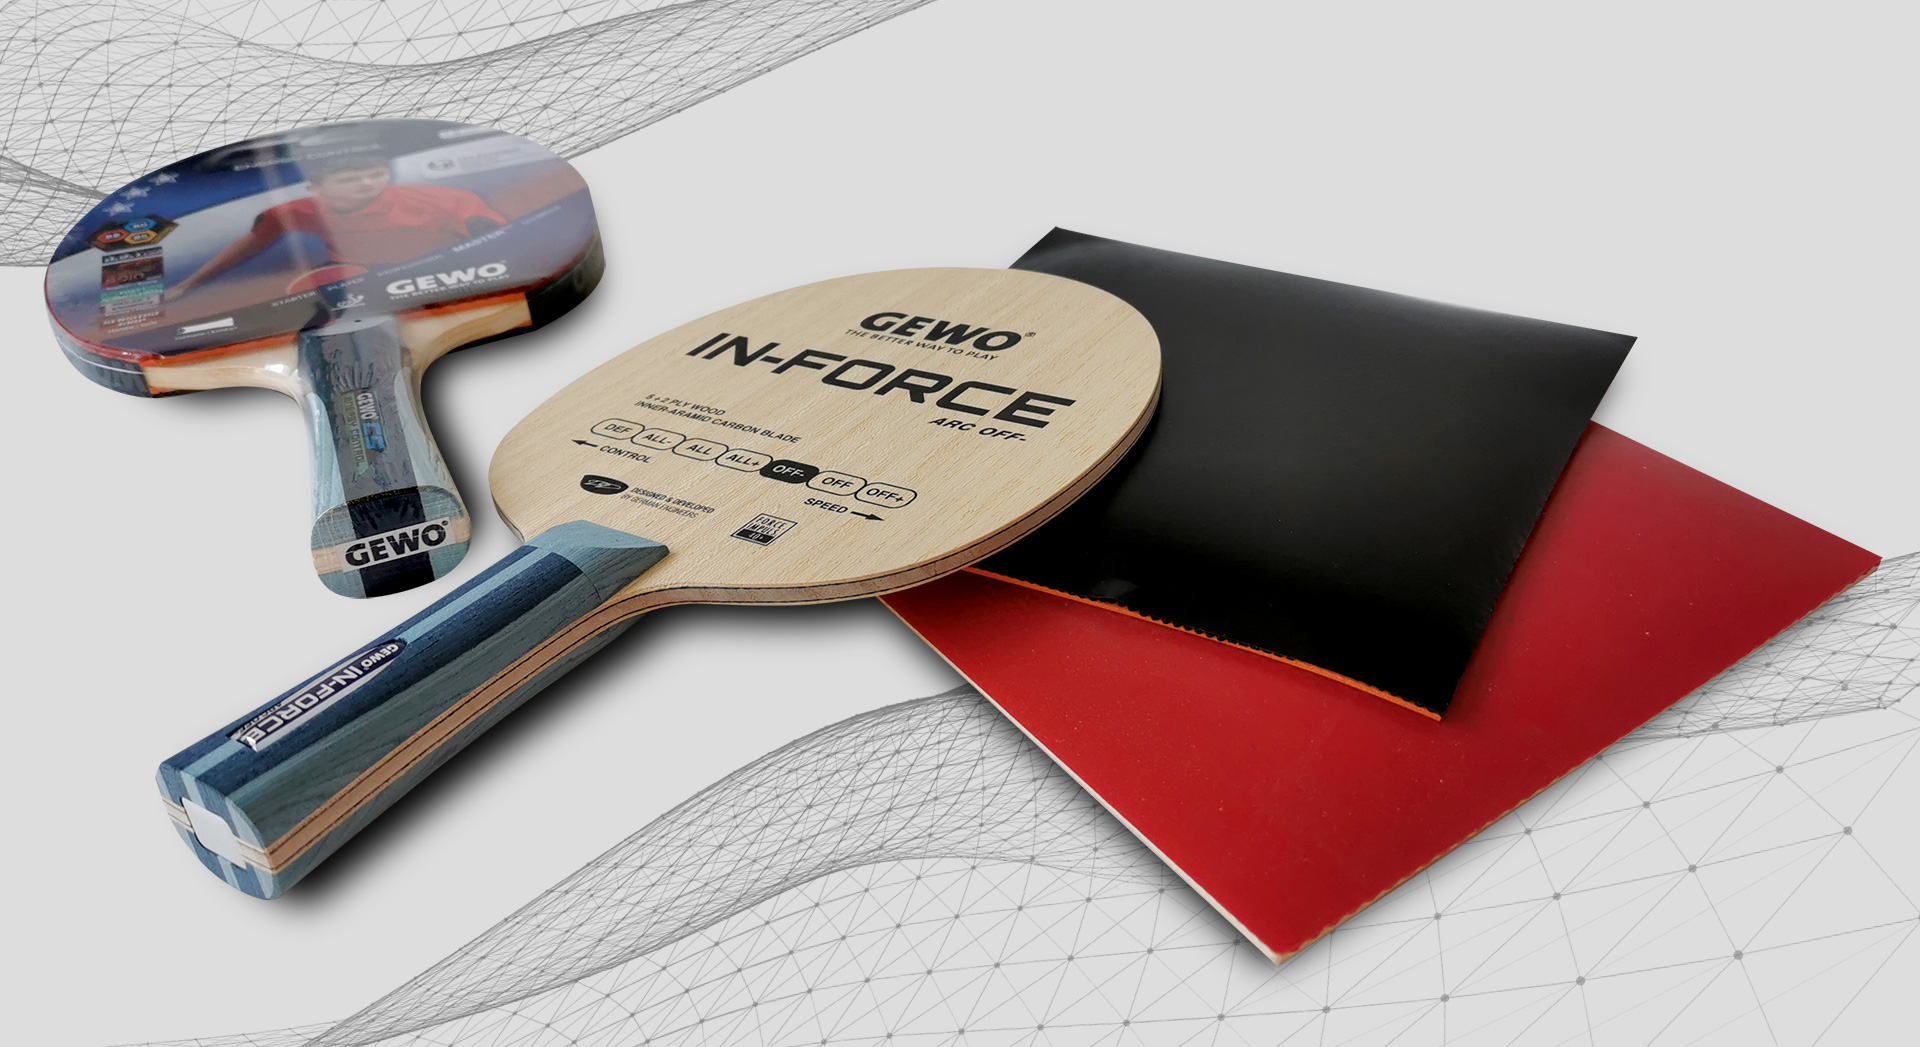
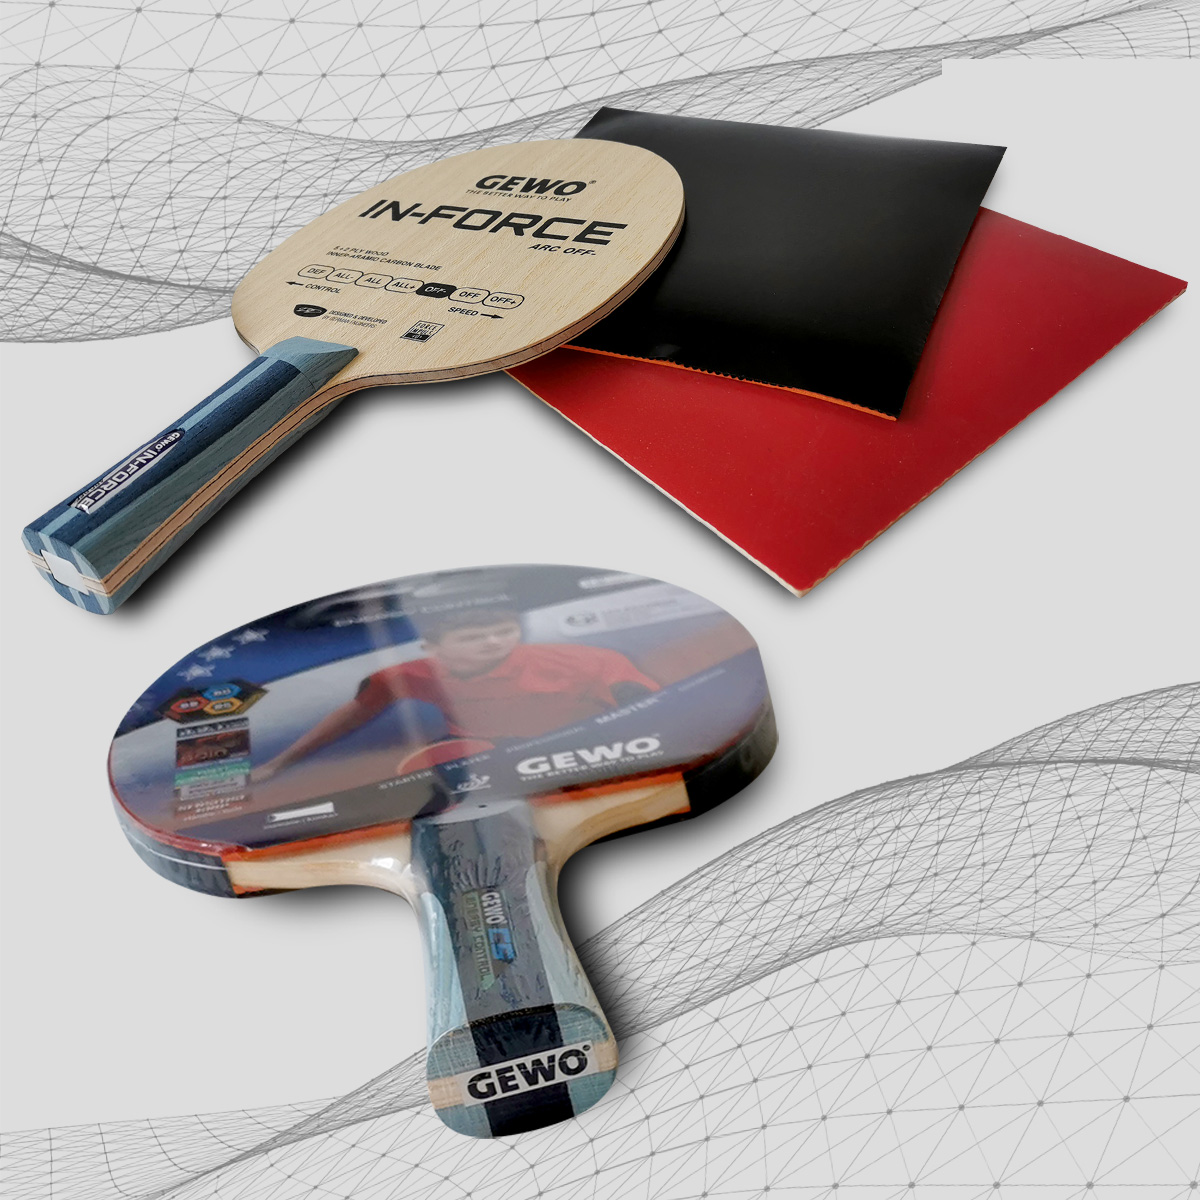
For beginners or occasional players, the ready-made racket is usually the best choice. Ready-made rackets are usually very easy to control. They have a high fault tolerance and are well suited for a controlled all-round game. However, a ready-made racket cannot support the player's own playing style. Neither can individual strengths be emphasised, nor can weaknesses be concealed or even compensated for.
In the case of an individual racket, two different coverings are glued to one piece of wood. The outside of the blade is usually finished with an edge band to protect the racket. The large selection of woods and ITTF-certified table tennis rubbers means that there are almost limitless combination possibilities with which a racket can be put together that perfectly suits a player's playing style. For most players, the forehand and backhand sides are not exactly the same and often different rubber properties are also important. With the individual racket, these things can be taken into account and, for example, a controlled rubber can be glued to the backhand, while a catapulting offensive rubber provides even more pressure on the forehand.
Even for beginners, it is often easier to play with individual rackets, as individual rubbers mostly offer excellent quality.
Table Tennis racket Configurator
With our racket configurator, you can configure your very own individual racket. First you have to choose a wood, to which you can optionally add a sealant. Next, choose two rubbers in the desired colour and sponge thickness. Finally, you choose a matching edge band and at the end we add an assembly fee of 1.50€ per side.
Assemble individual rackets yourself
Table tennis rackets can also be assembled quite easily at home. It usually takes a little practice before it becomes routine, but no special craftsmanship is required. In addition to wood and rubber, you will need wood sealant, glue or adhesive foil, sponges for the glue, a pressure roller and rubber scissors or a cutter.
Sealing
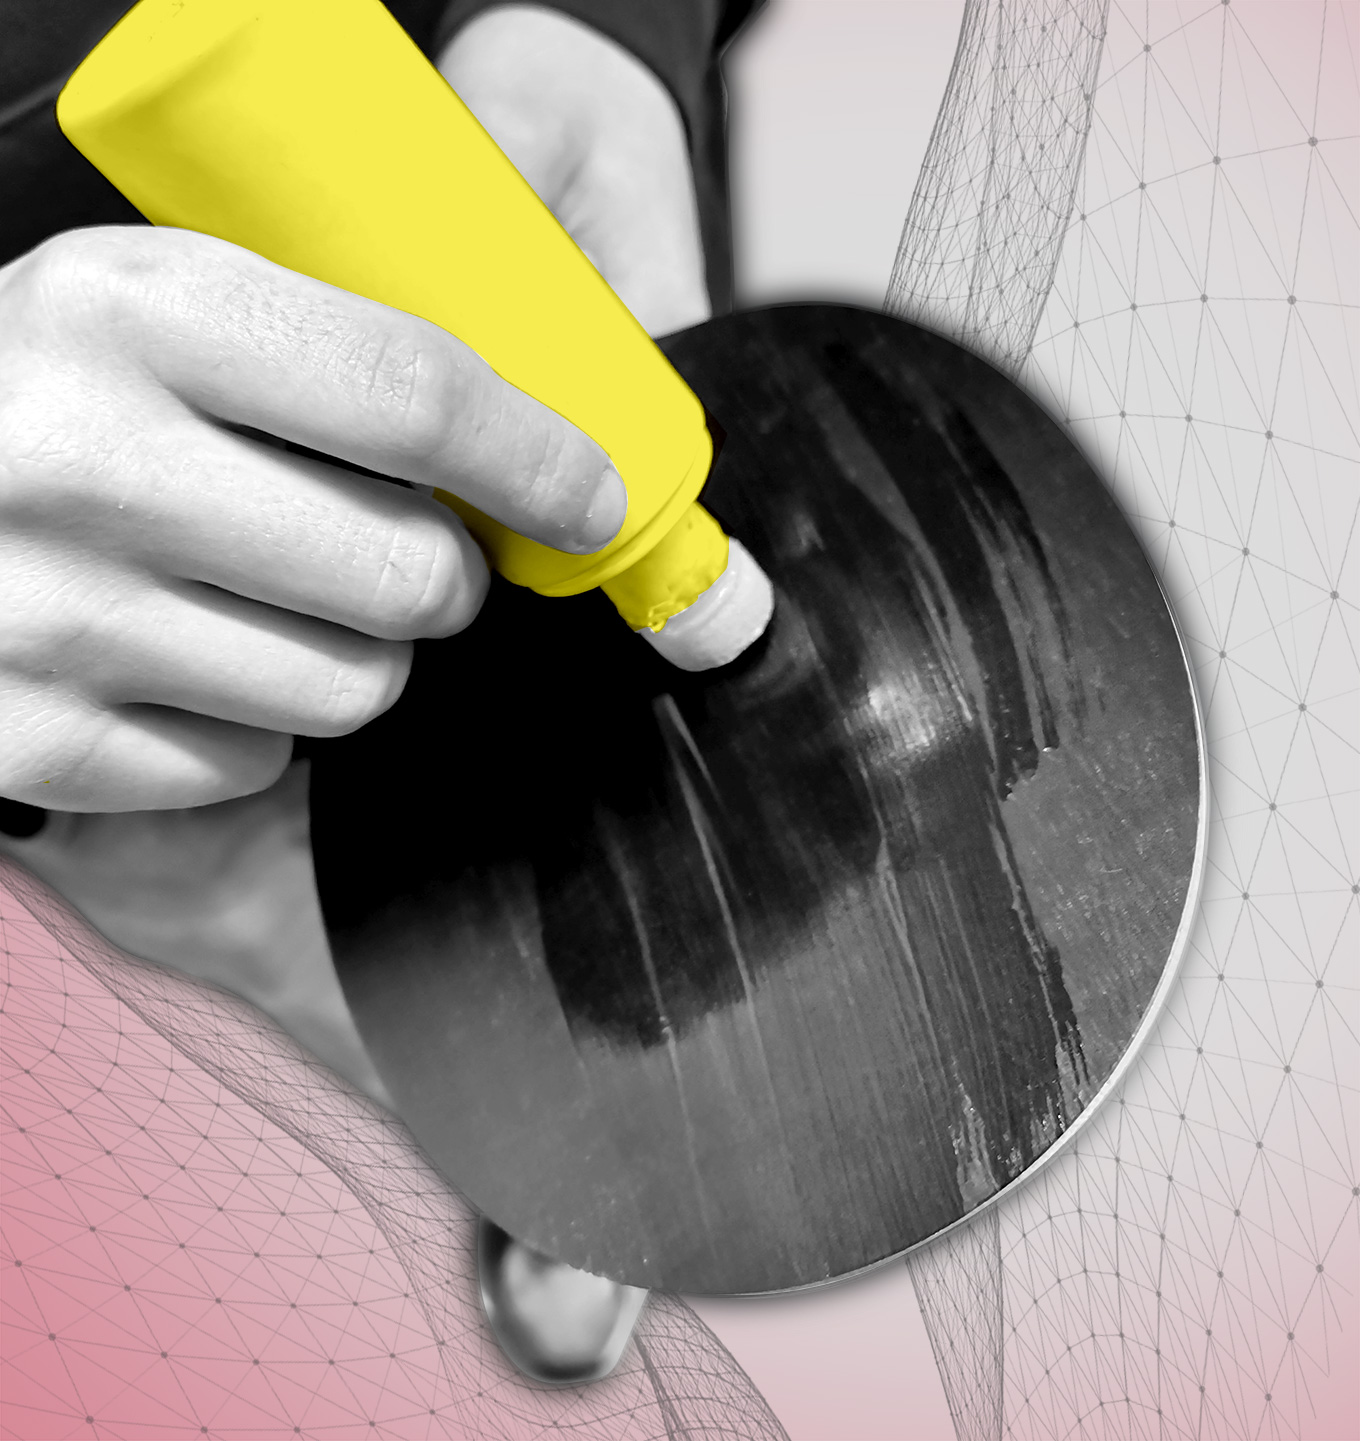
Before you glue your rubbers to the wood, you should first seal the wood. The sealant protects the wood when removing old rubberss. This means that fibres are less likely to be torn out of the wood during removal and the durability of the wood is extended. To seal a wood, the sealer is applied thinly to the wood surface with a spray can or sponge. The sealing layer should then dry for as long as possible before the wood is glued. Our recommendation is: Do not start installing the rubbers until one day later, so that the liquid is well absorbed. If the sealer is applied too thickly, it will make the surface of the wood a little smoother. Therefore, you should carry out the sealing process with care and in peace. After about 2-3 years, the effect of the sealant will fade, so you should renew it again.


Rubbermounting
With the correct mounting, the properties of the rubbers are not changed and bubble formation on the covering surfaces can be avoided.
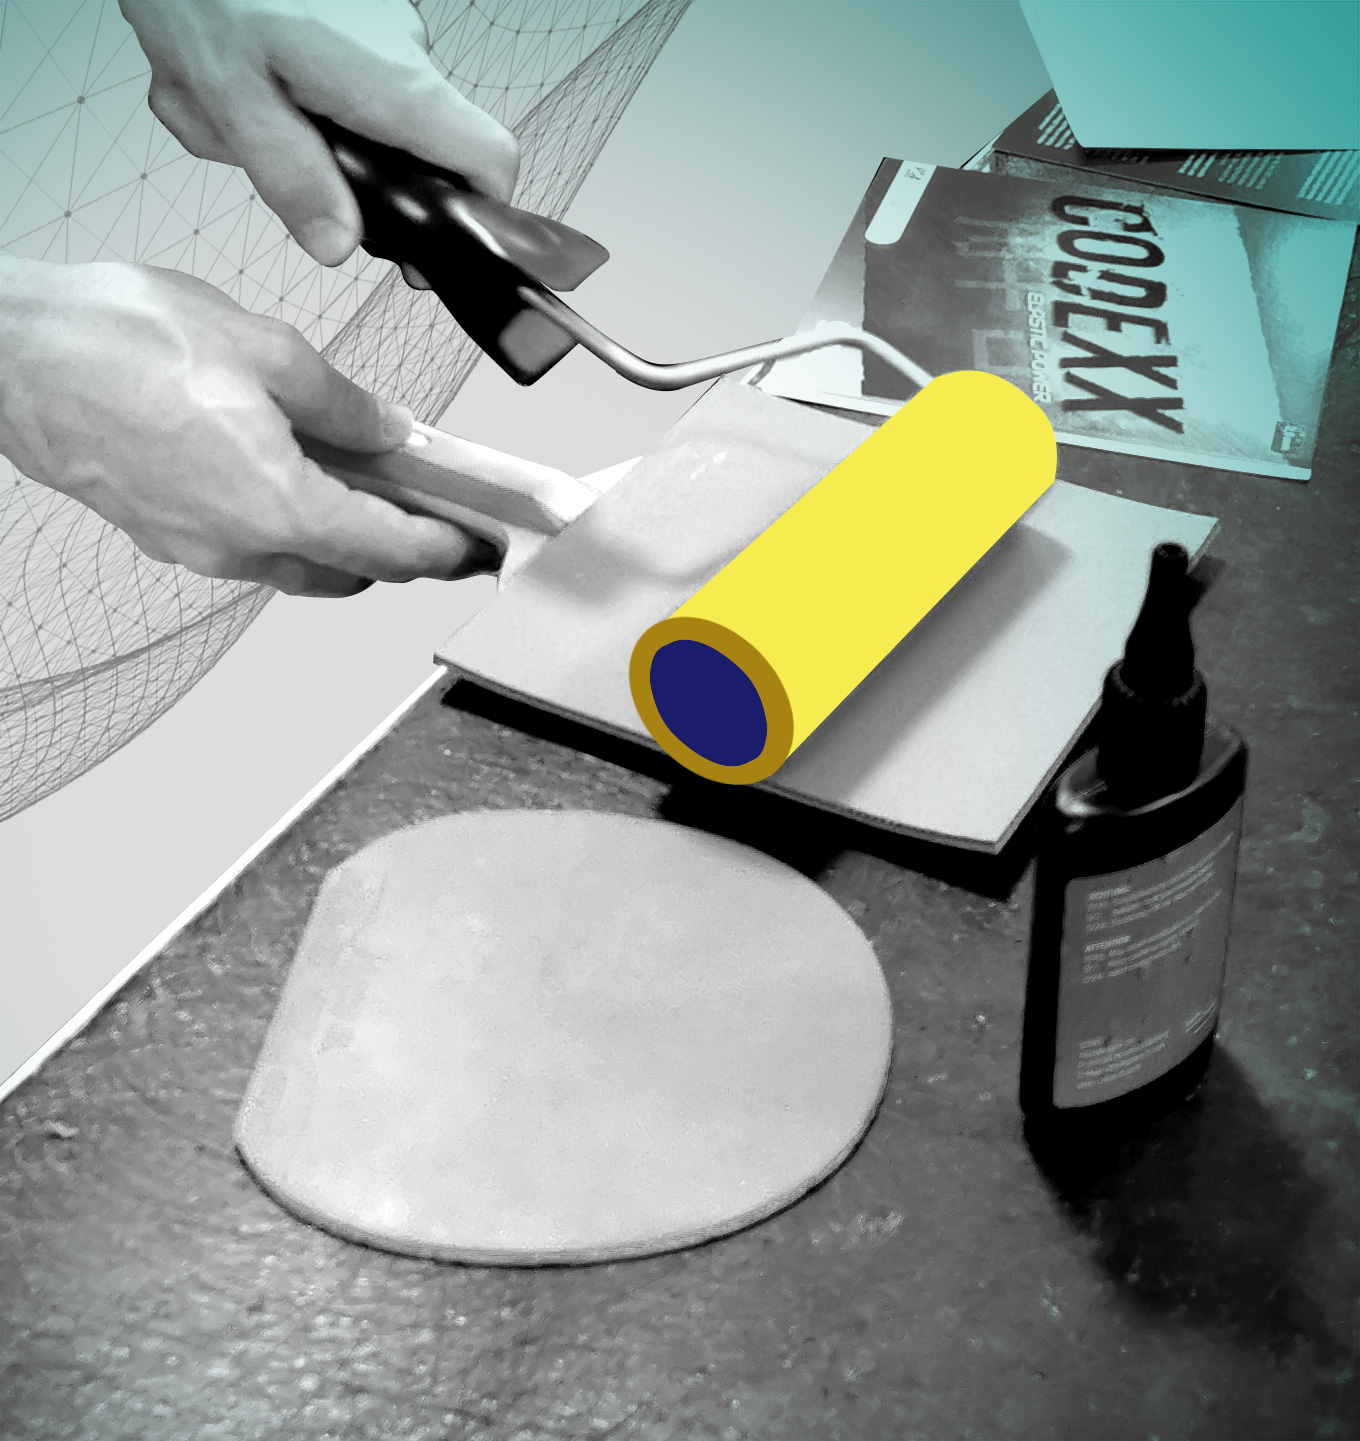
The glue is first applied carefully to one side of the wood and the first rubber and then spread evenly with a small sponge. After that, the glue must first dry. With most adhesives, the colour should then slowly change from milky-white to transparent and only then can the rubber be glued to the wood. To do this, the lower edge of the rubber (the side with the lettering) should first be placed against the upper edge of the wooden handle. Press the rubber onto the wood from the bottom to the top without exerting any pressure on the rubber. To achieve an even pressure, we recommend the use of a pressure roller. If the pressure is too strong, the playing characteristics of the rubber may change. In addition, it is very likely that the rubber will contract again after some time and thus no longer fit properly on the wood.
If the rubber now sticks properly to the wood, it must be cut to the right size. For this, either a cutter knife or curved decking scissors can be used. For beginners, it is somewhat easier to cut with the scissors, but with a little practice it is possible to achieve an even cleaner cut with the cutter. Once the first rubber is properly glued and cut, repeat the process with the second rubber.
Finally, the edge of the racket can be taped to protect it. To do this, place the edge tape on the edge of the rubber-wood-rubber and press the tape all the way around the edge of the racket until you reach the other edge of the covering. The edge band can then be cut off there with scissors.
This method is only one of many ways to build an individual racket yourself. With a little experience, every player will find his own way to achieve his desired result.
Rubbermounting
With the correct mounting, the properties of the rubbers are not changed and bubble formation on the covering surfaces can be avoided.
The glue is first applied carefully to one side of the wood and the first rubber and then spread evenly with a small sponge. After that, the glue must first dry. With most adhesives, the colour should then slowly change from milky-white to transparent and only then can the rubber be glued to the wood. To do this, the lower edge of the rubber (the side with the lettering) should first be placed against the upper edge of the wooden handle. Press the rubber onto the wood from the bottom to the top without exerting any pressure on the rubber. To achieve an even pressure, we recommend the use of a pressure roller. If the pressure is too strong, the playing characteristics of the rubber may change. In addition, it is very likely that the rubber will contract again after some time and thus no longer fit properly on the wood.

If the rubber now sticks properly to the wood, it must be cut to the right size. For this, either a cutter knife or curved decking scissors can be used. For beginners, it is somewhat easier to cut with the scissors, but with a little practice it is possible to achieve an even cleaner cut with the cutter. Once the first rubber is properly glued and cut, repeat the process with the second rubber.
Finally, the edge of the racket can be taped to protect it. To do this, place the edge tape on the edge of the rubber-wood-rubber and press the tape all the way around the edge of the racket until you reach the other edge of the covering. The edge band can then be cut off there with scissors.
This method is only one of many ways to build an individual racket yourself. With a little experience, every player will find his own way to achieve his desired result.
